# Qwen3-TTS WebUI
> **⚠️ Notice:** This project is largely AI-generated and is currently in an unstable state. Stable releases will be published in the [Releases](../../releases) section.
**Unofficial** text-to-speech web application based on Qwen3-TTS, supporting custom voice, voice design, and voice cloning with an intuitive interface.
> This is an unofficial project. For the official Qwen3-TTS repository, please visit [QwenLM/Qwen3-TTS](https://github.com/QwenLM/Qwen3-TTS).
[中文文档](./README.zh.md)
## Features
- Custom Voice: Predefined speaker voices
- Voice Design: Create voices from natural language descriptions
- Voice Cloning: Clone voices from uploaded audio
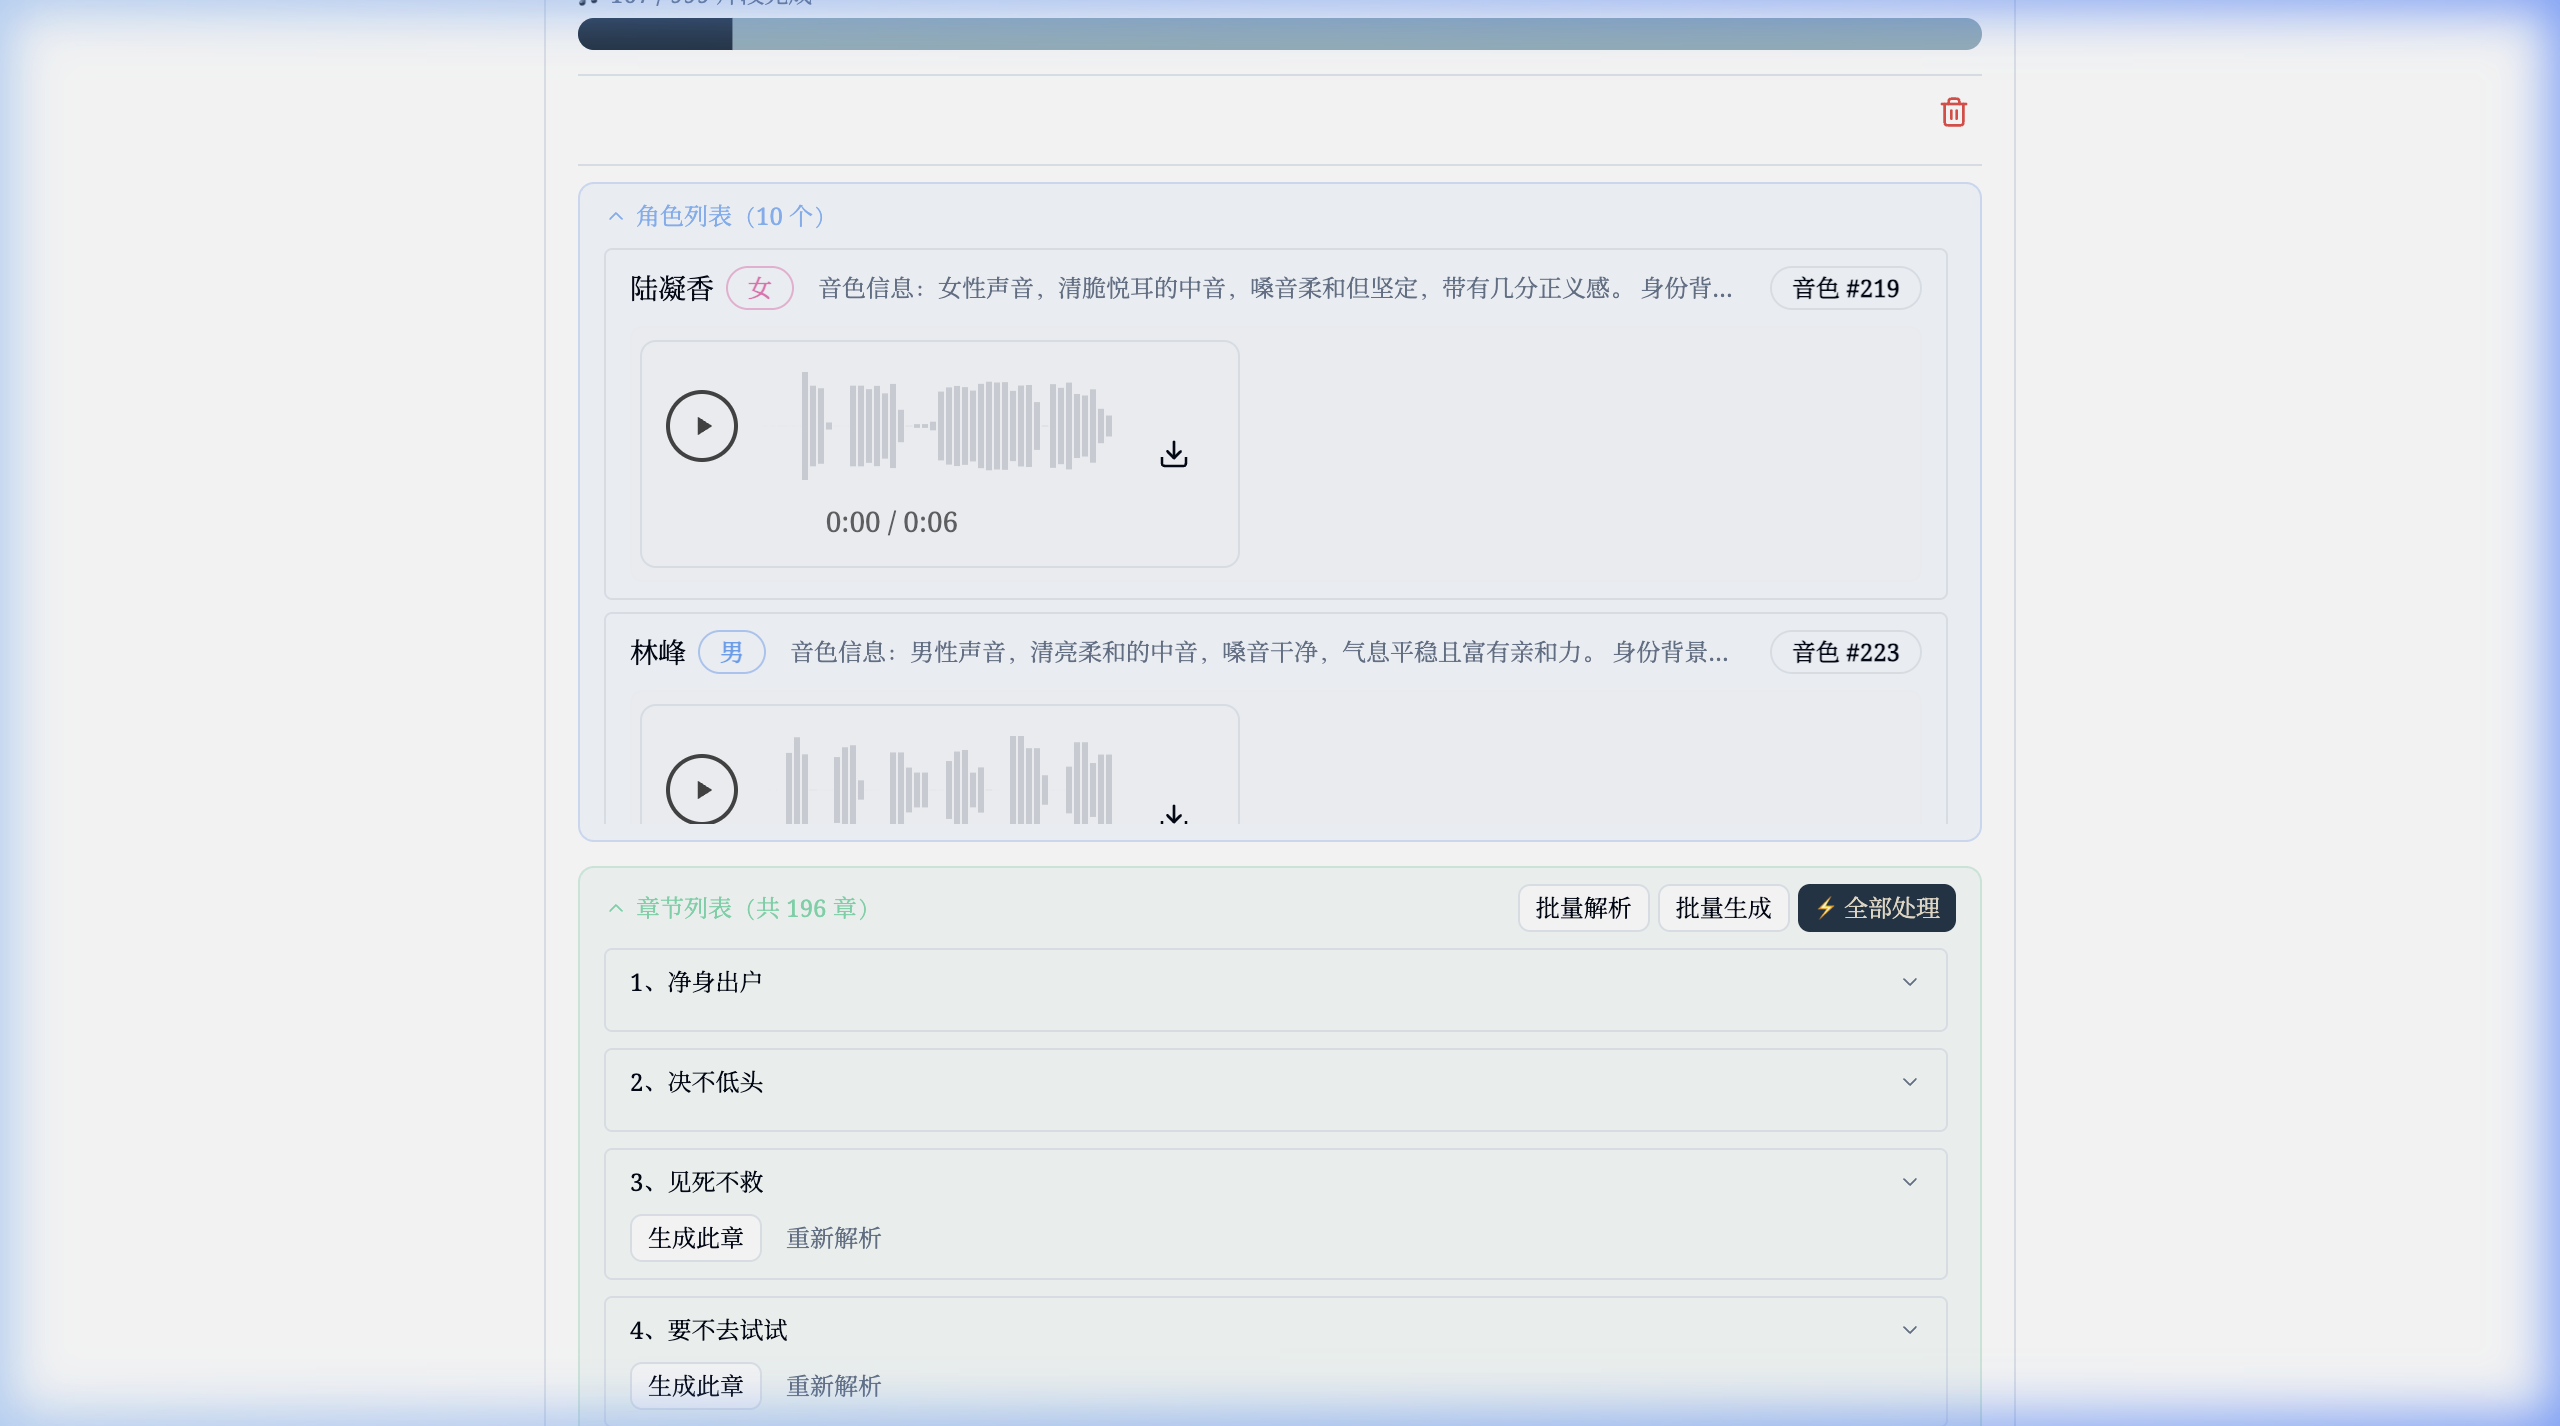
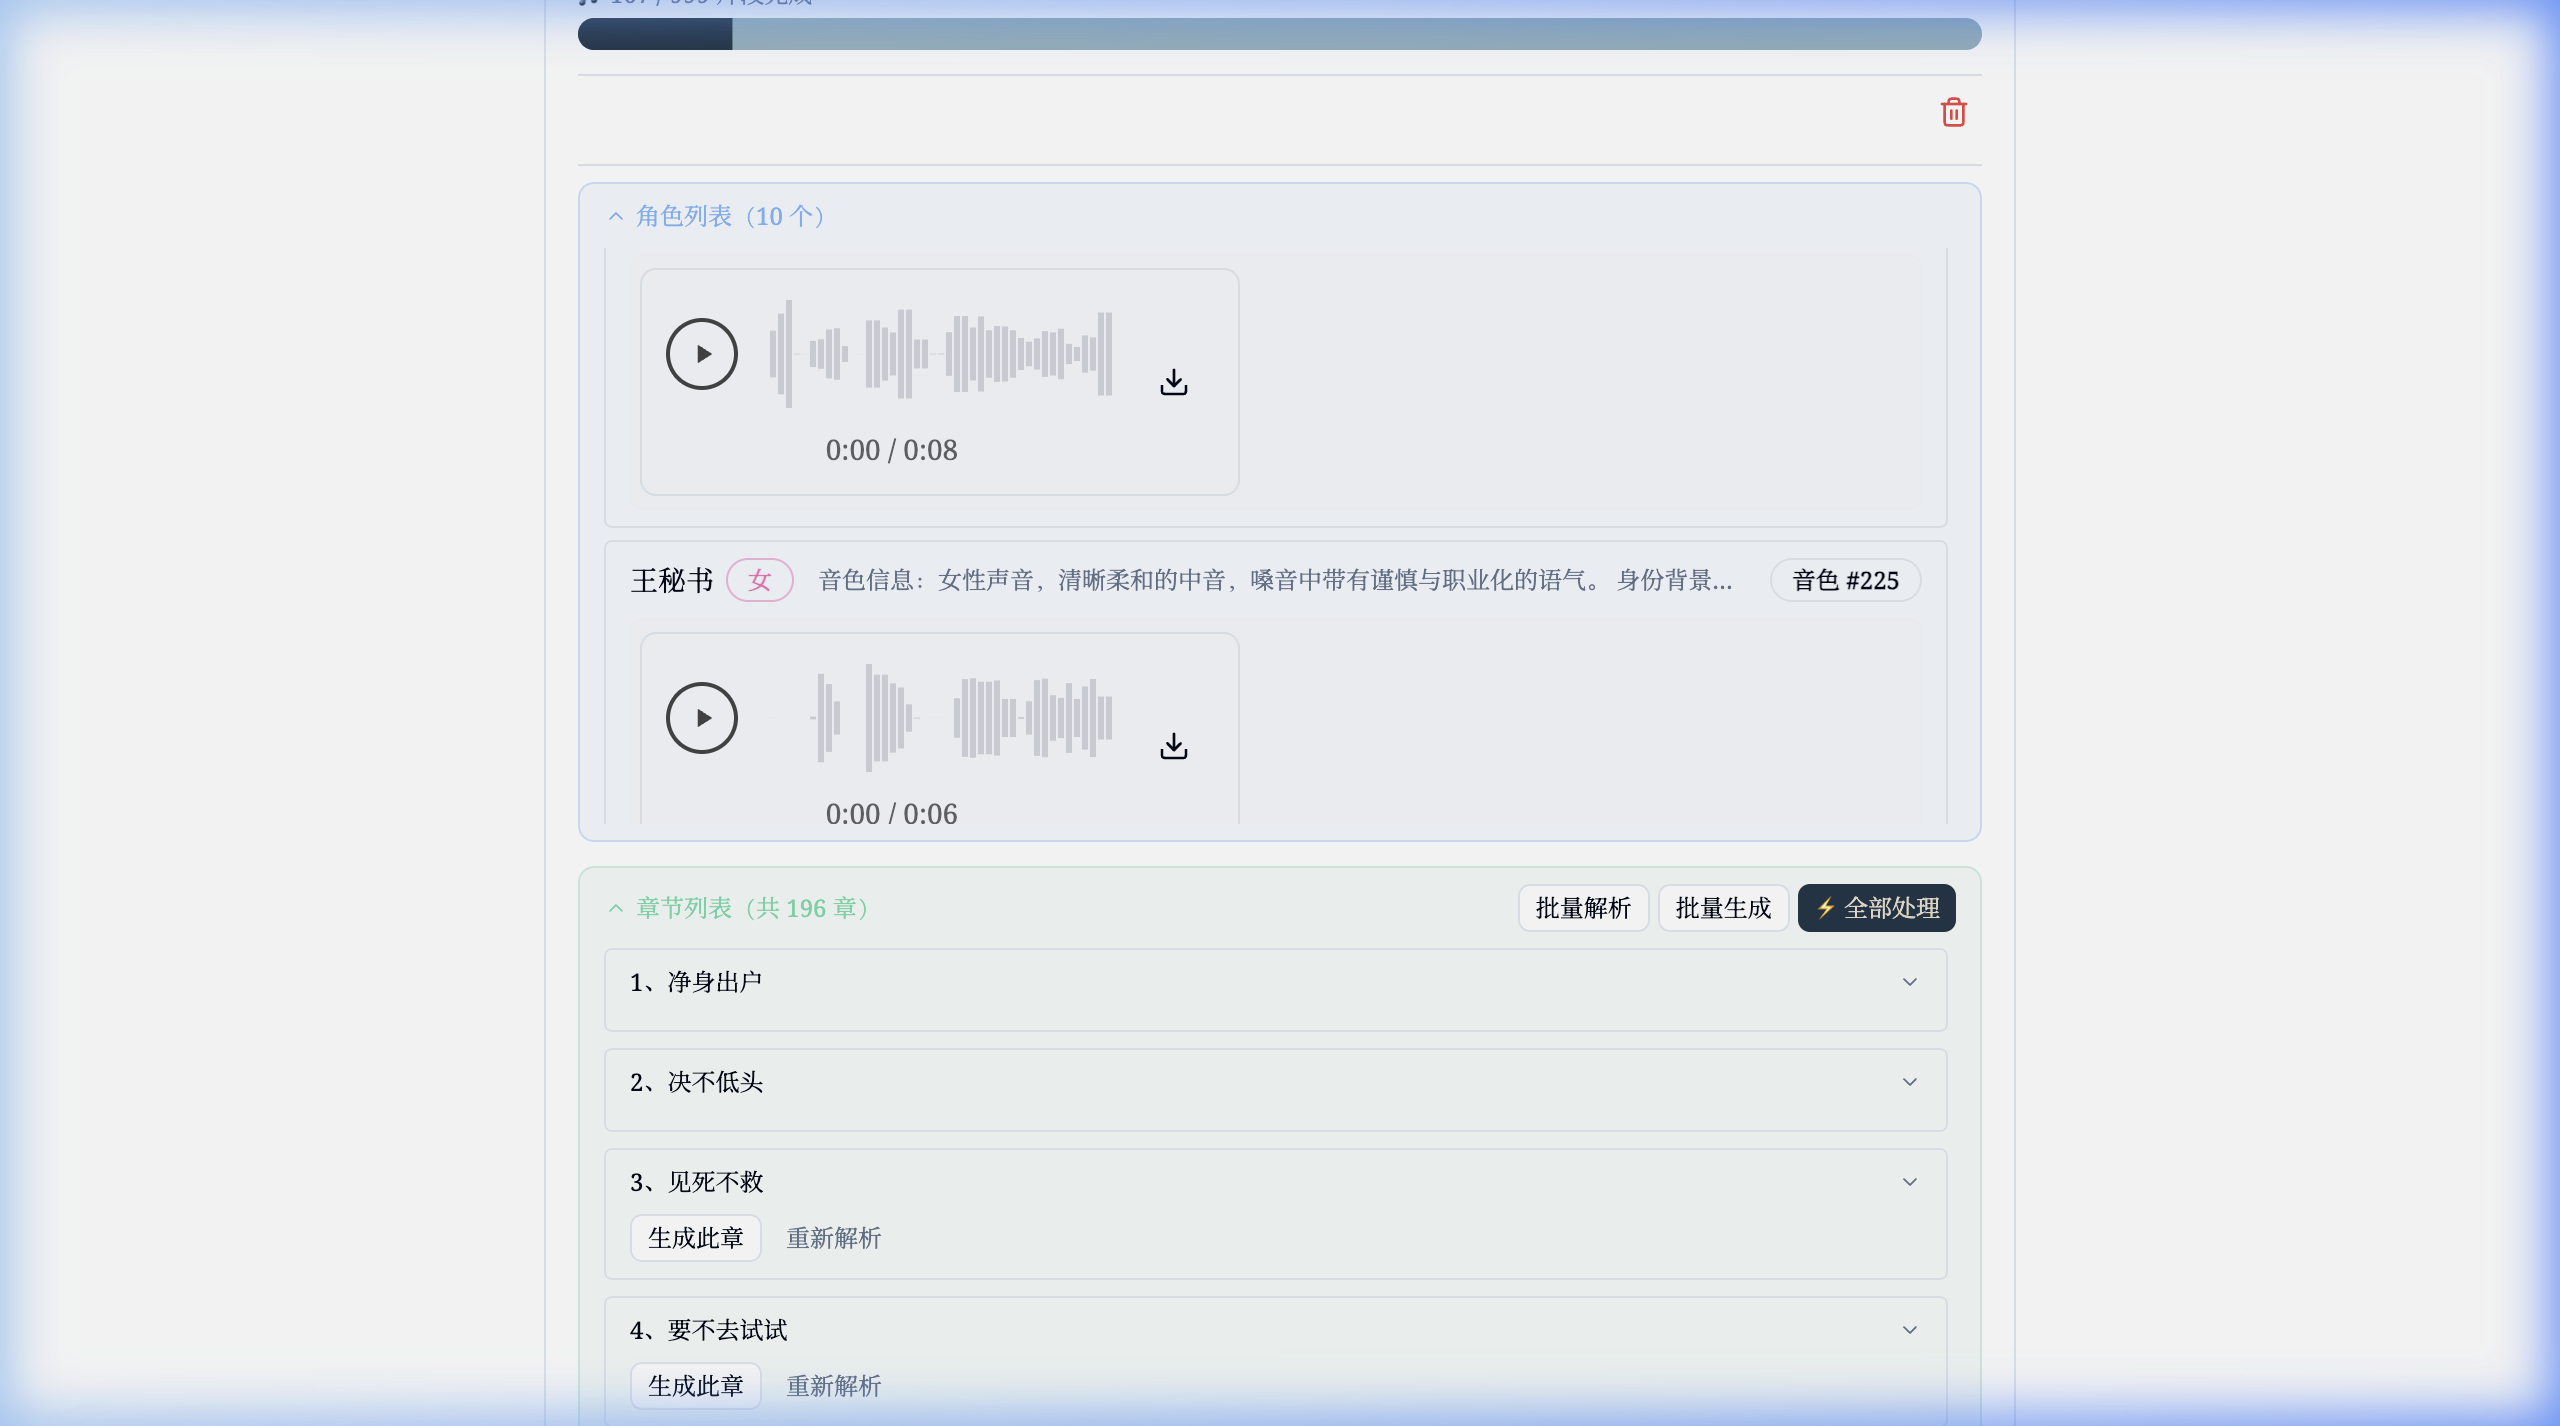
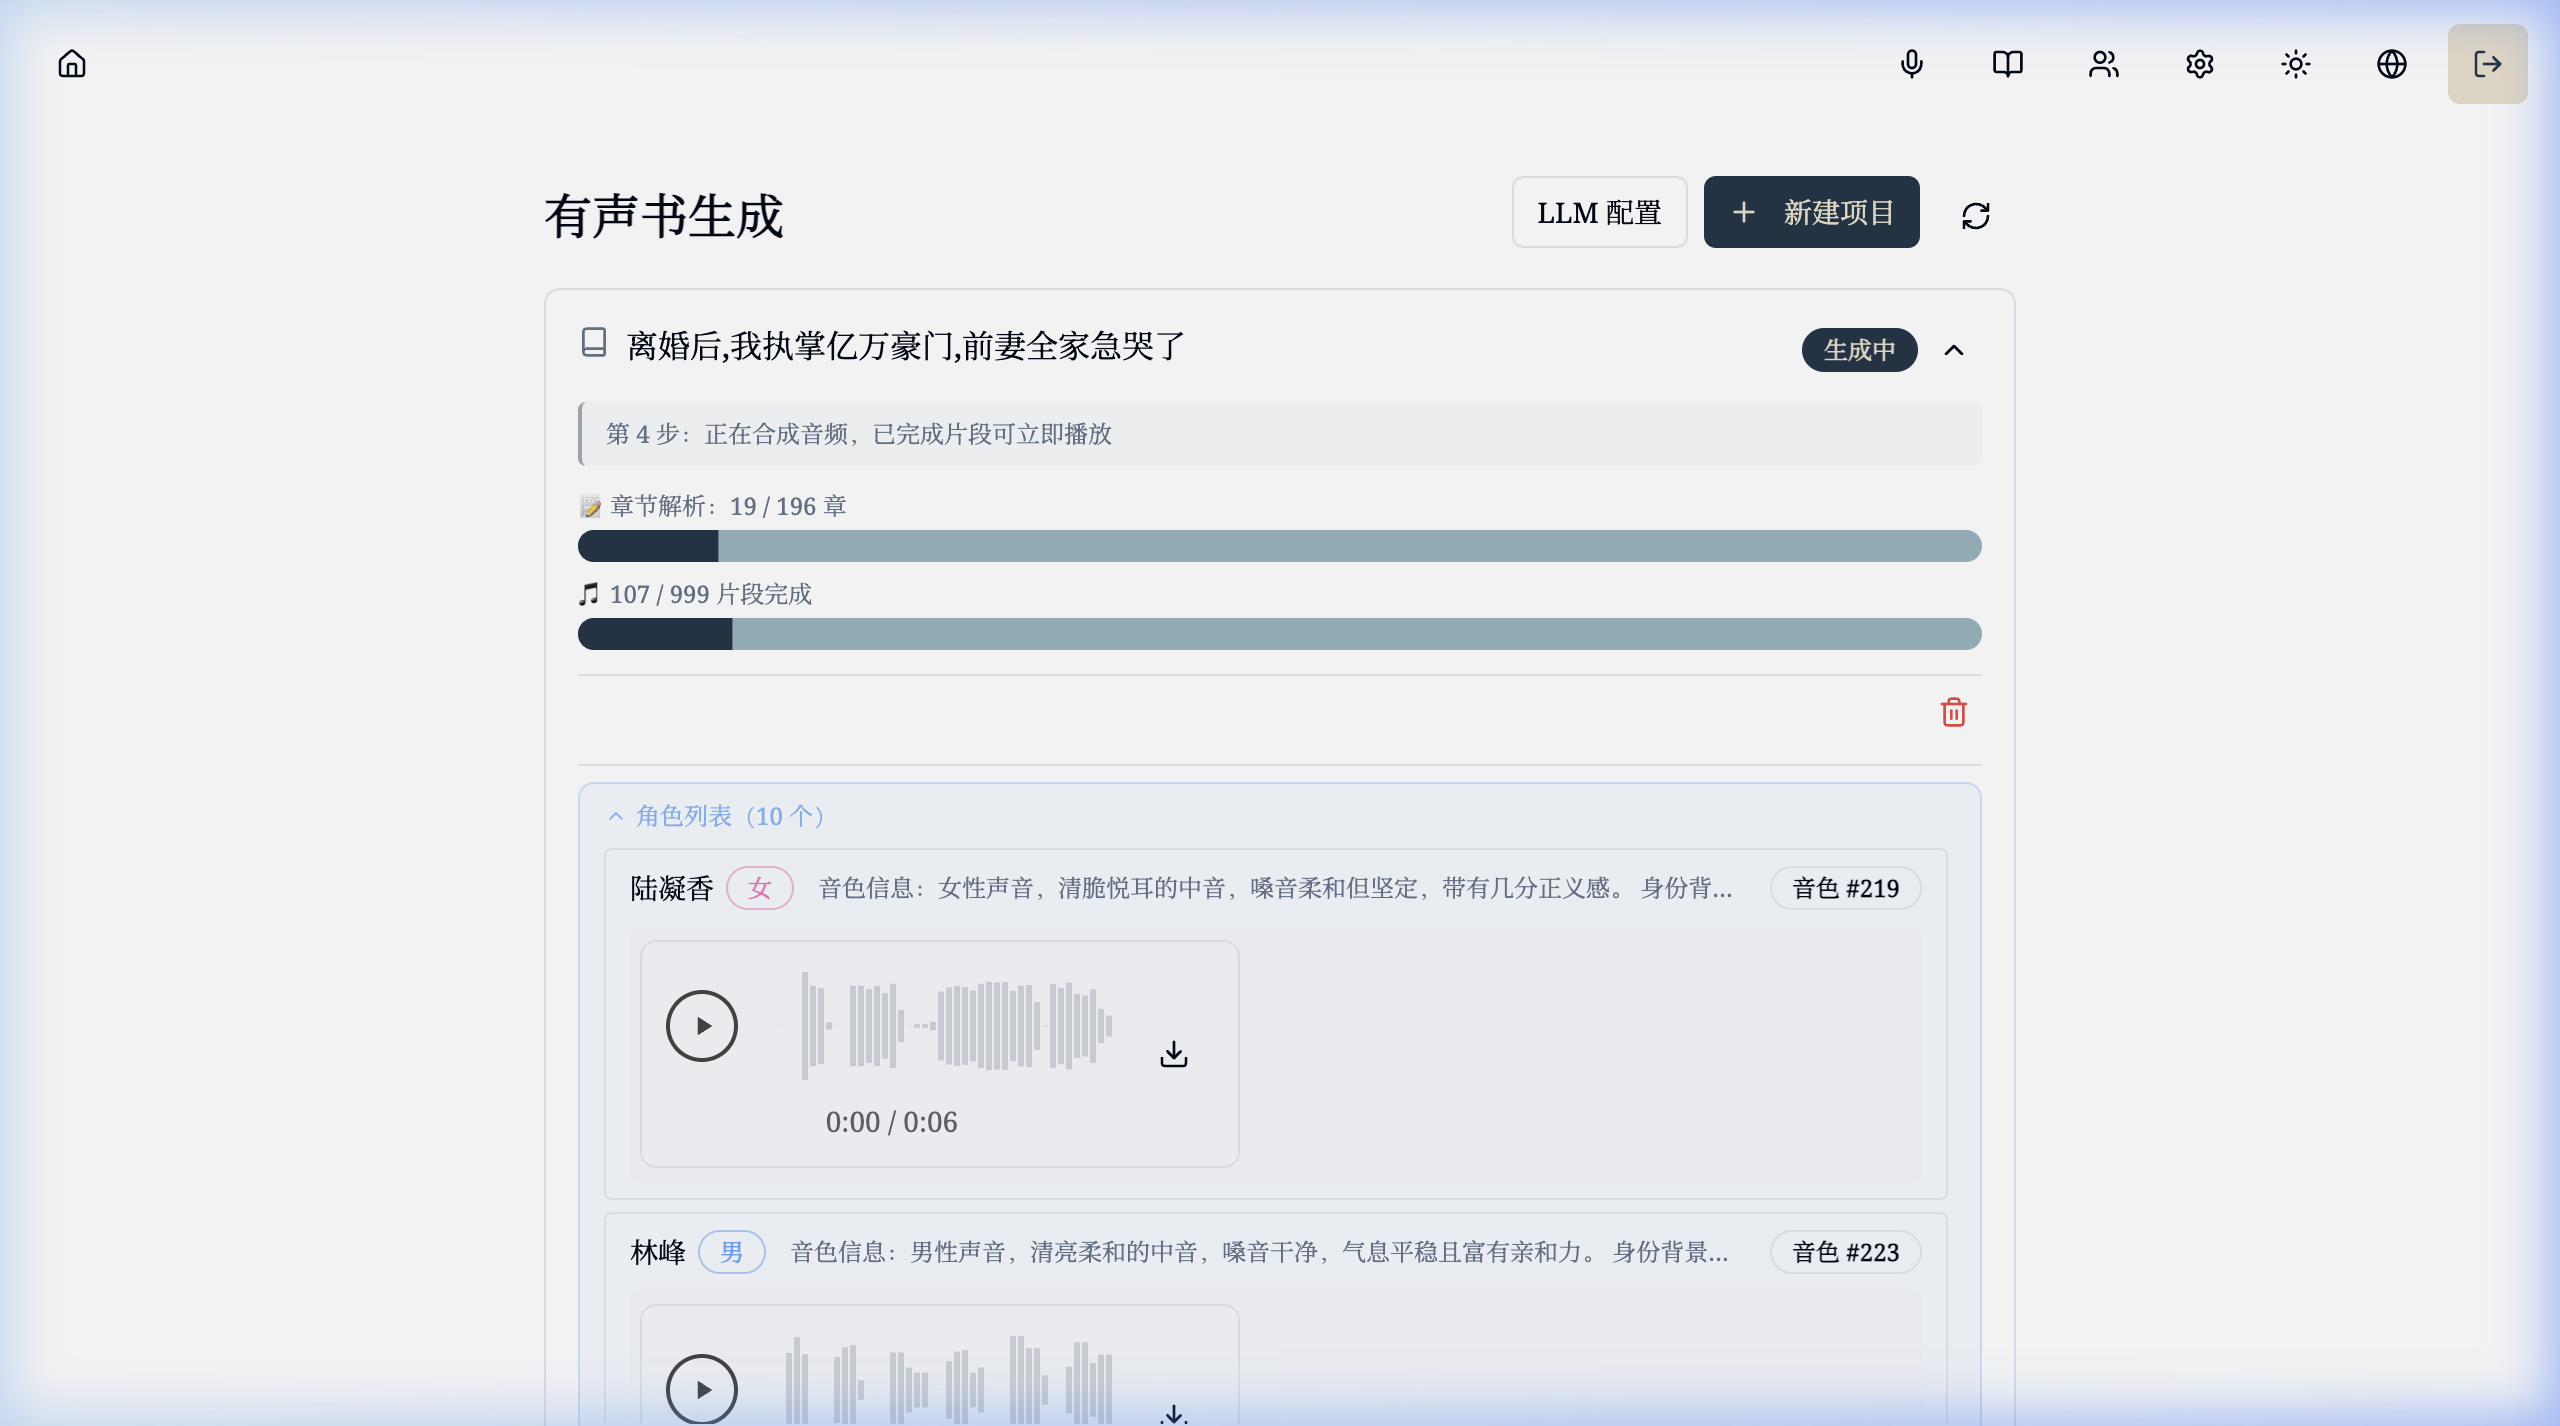
- Audiobook Generation: Upload EPUB files and generate multi-character audiobooks with LLM-powered character extraction and voice assignment
- Dual Backend Support: Switch between local model and Aliyun TTS API
- Multi-language Support: English, 简体中文, 繁體中文, 日本語, 한국어
- JWT auth, async tasks, voice cache, dark mode
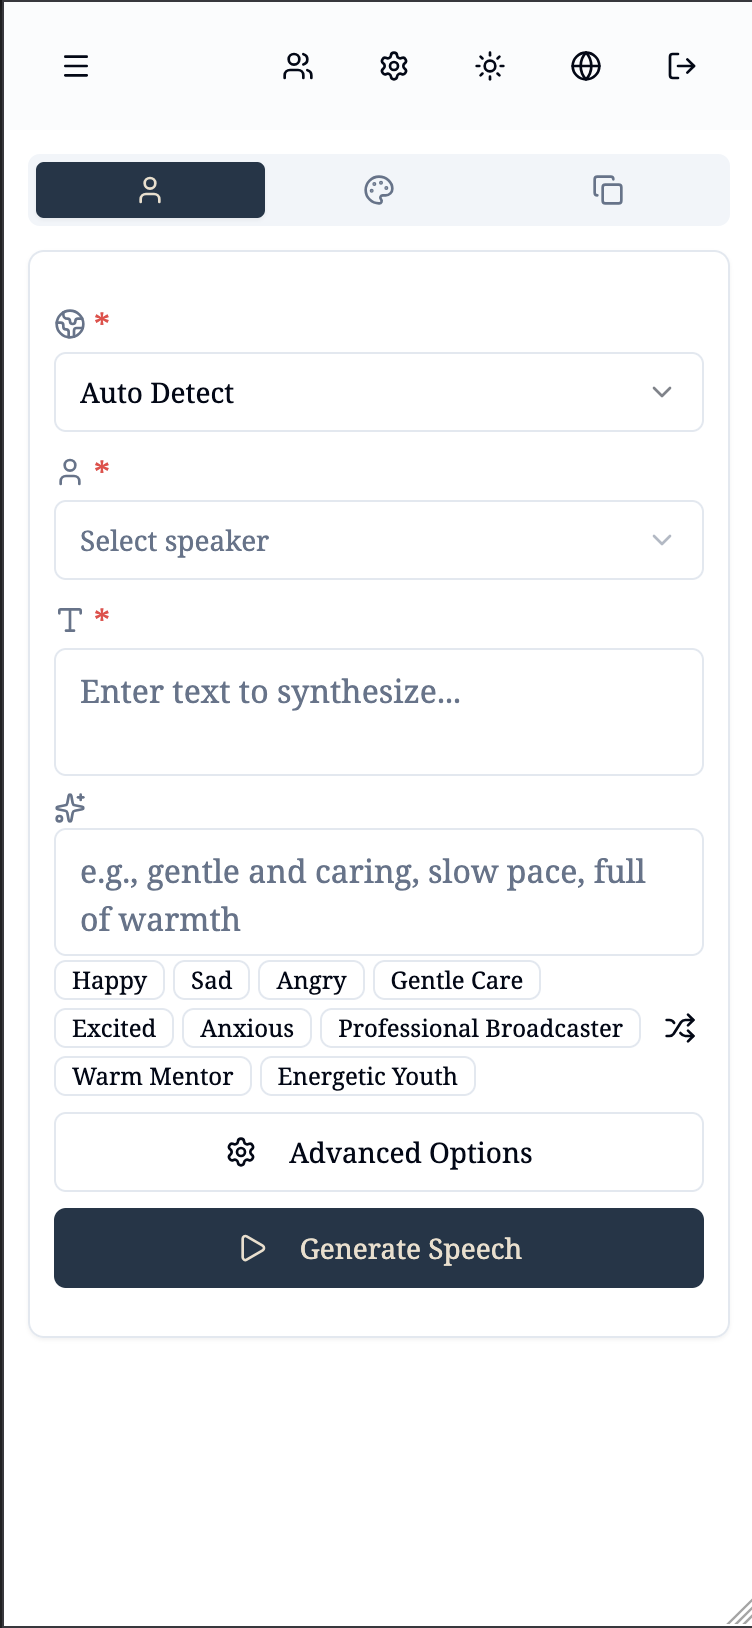
## Interface Preview
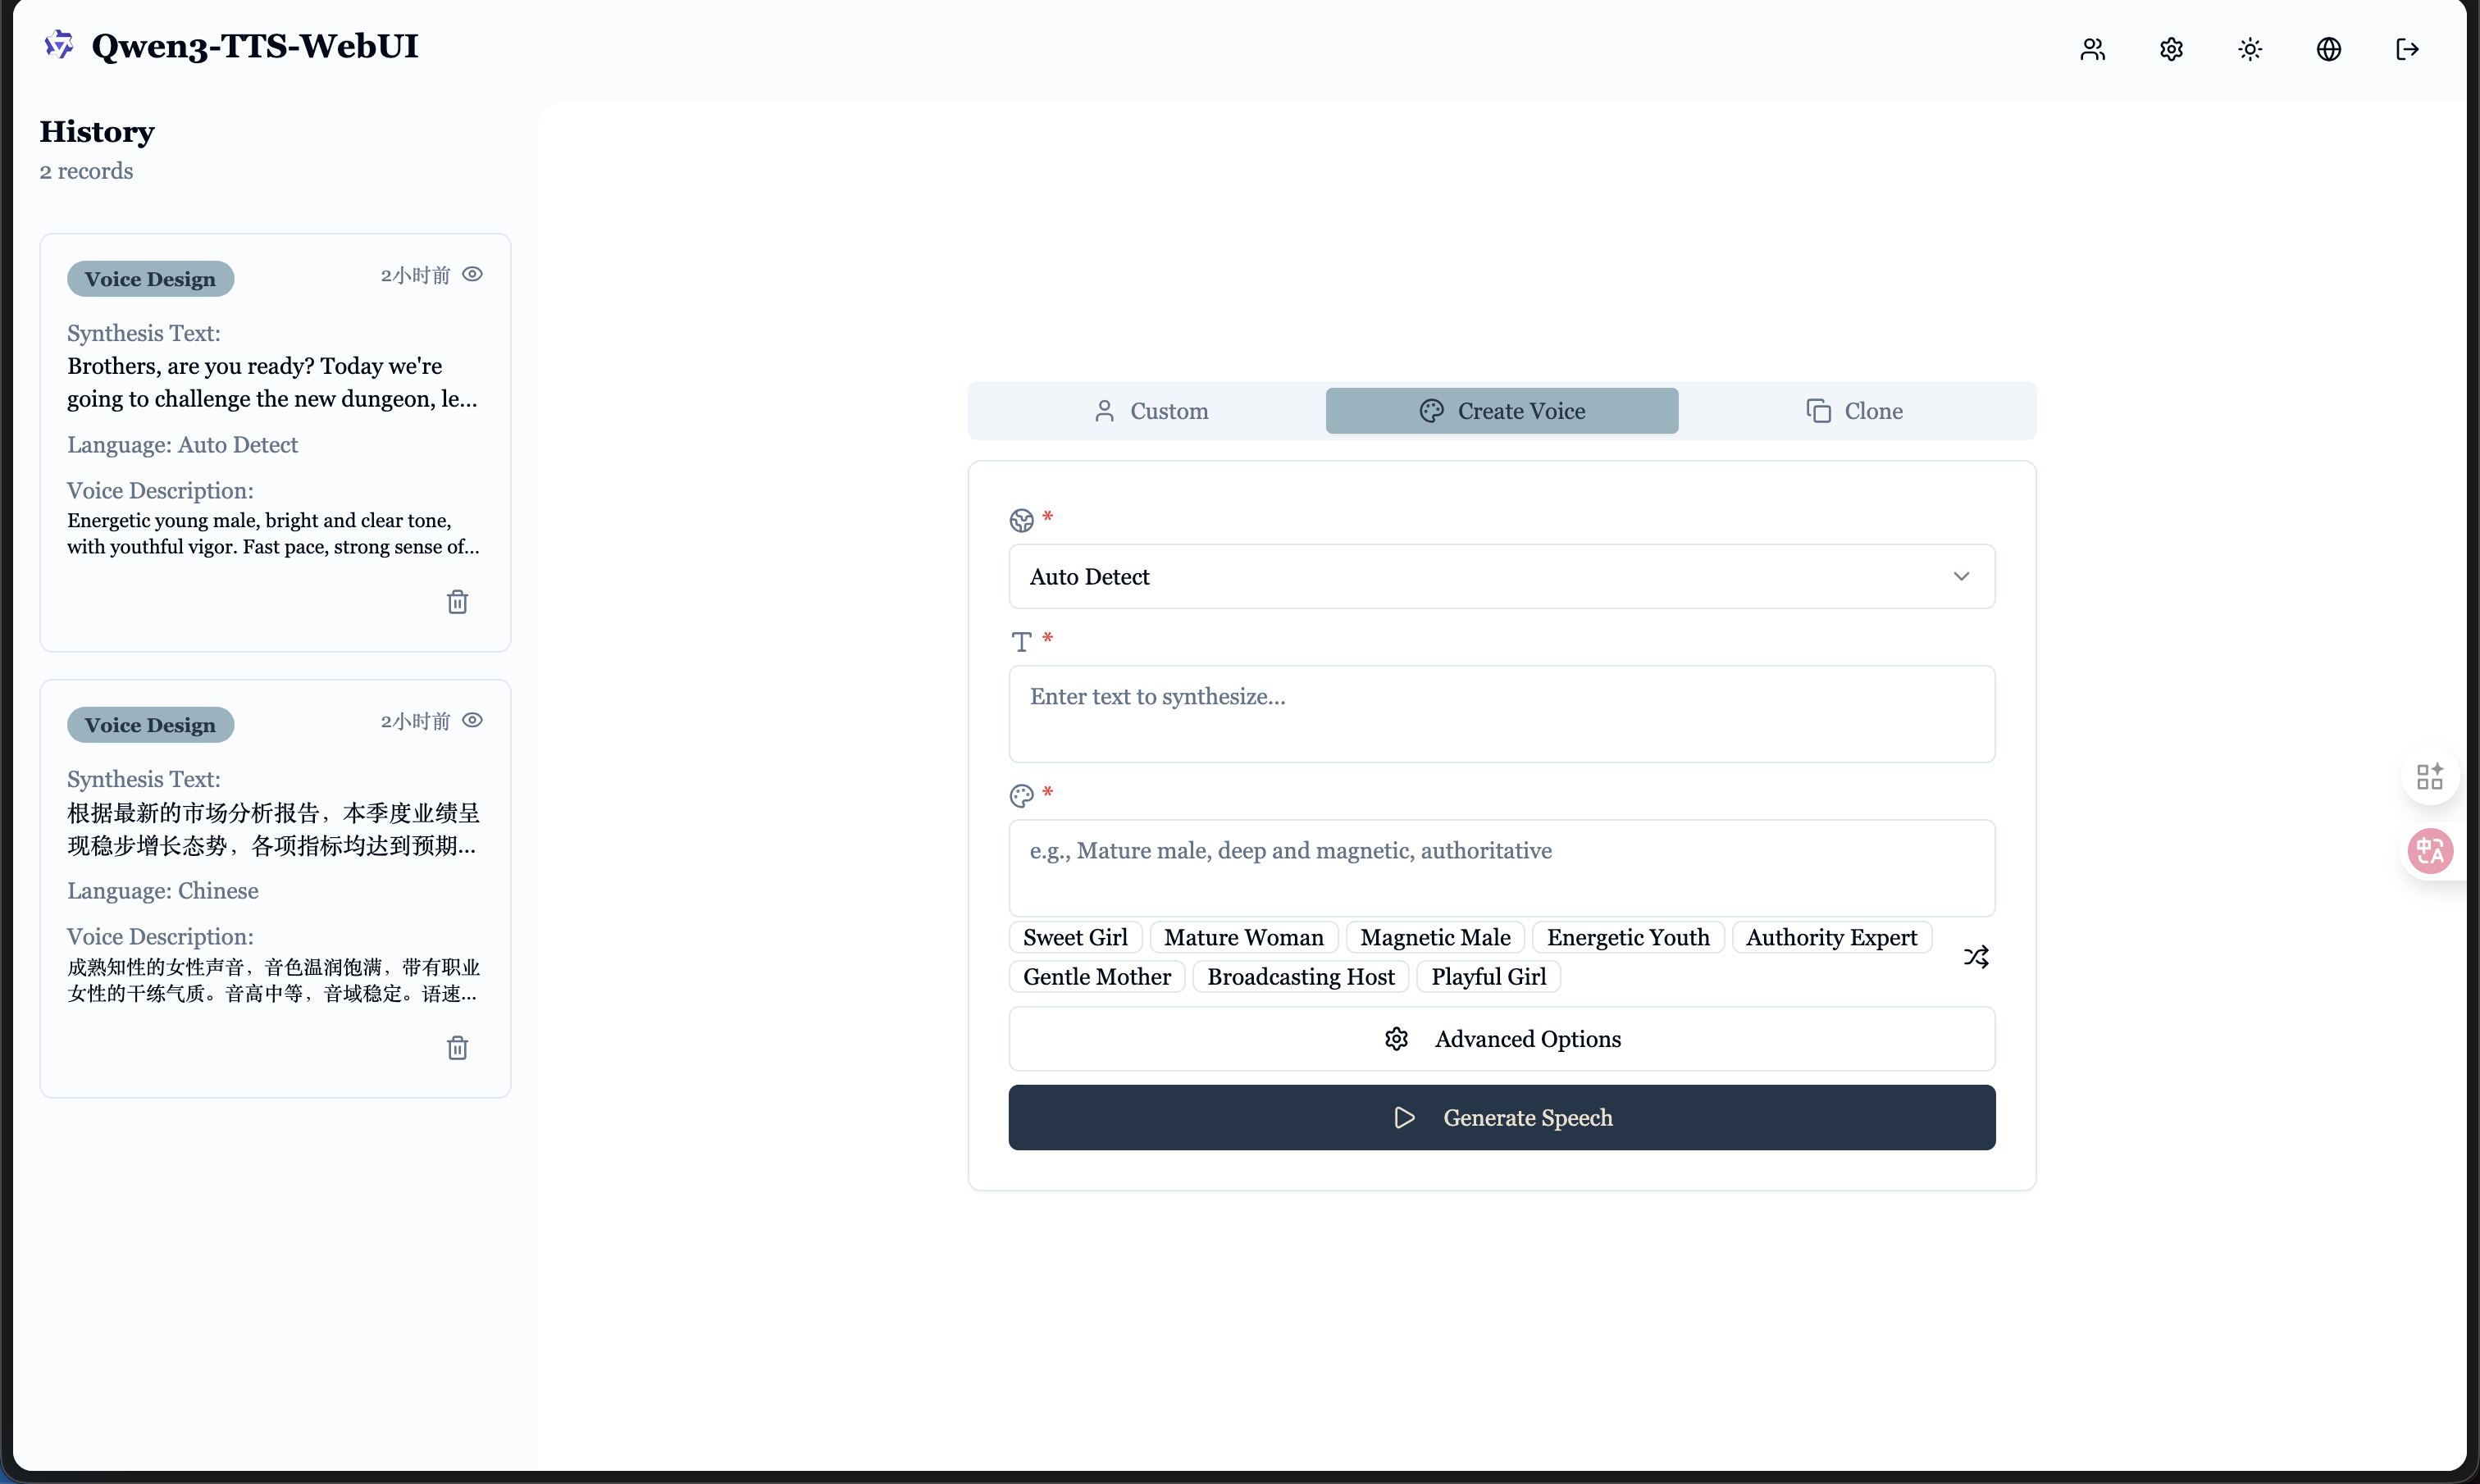
### Desktop - Light Mode
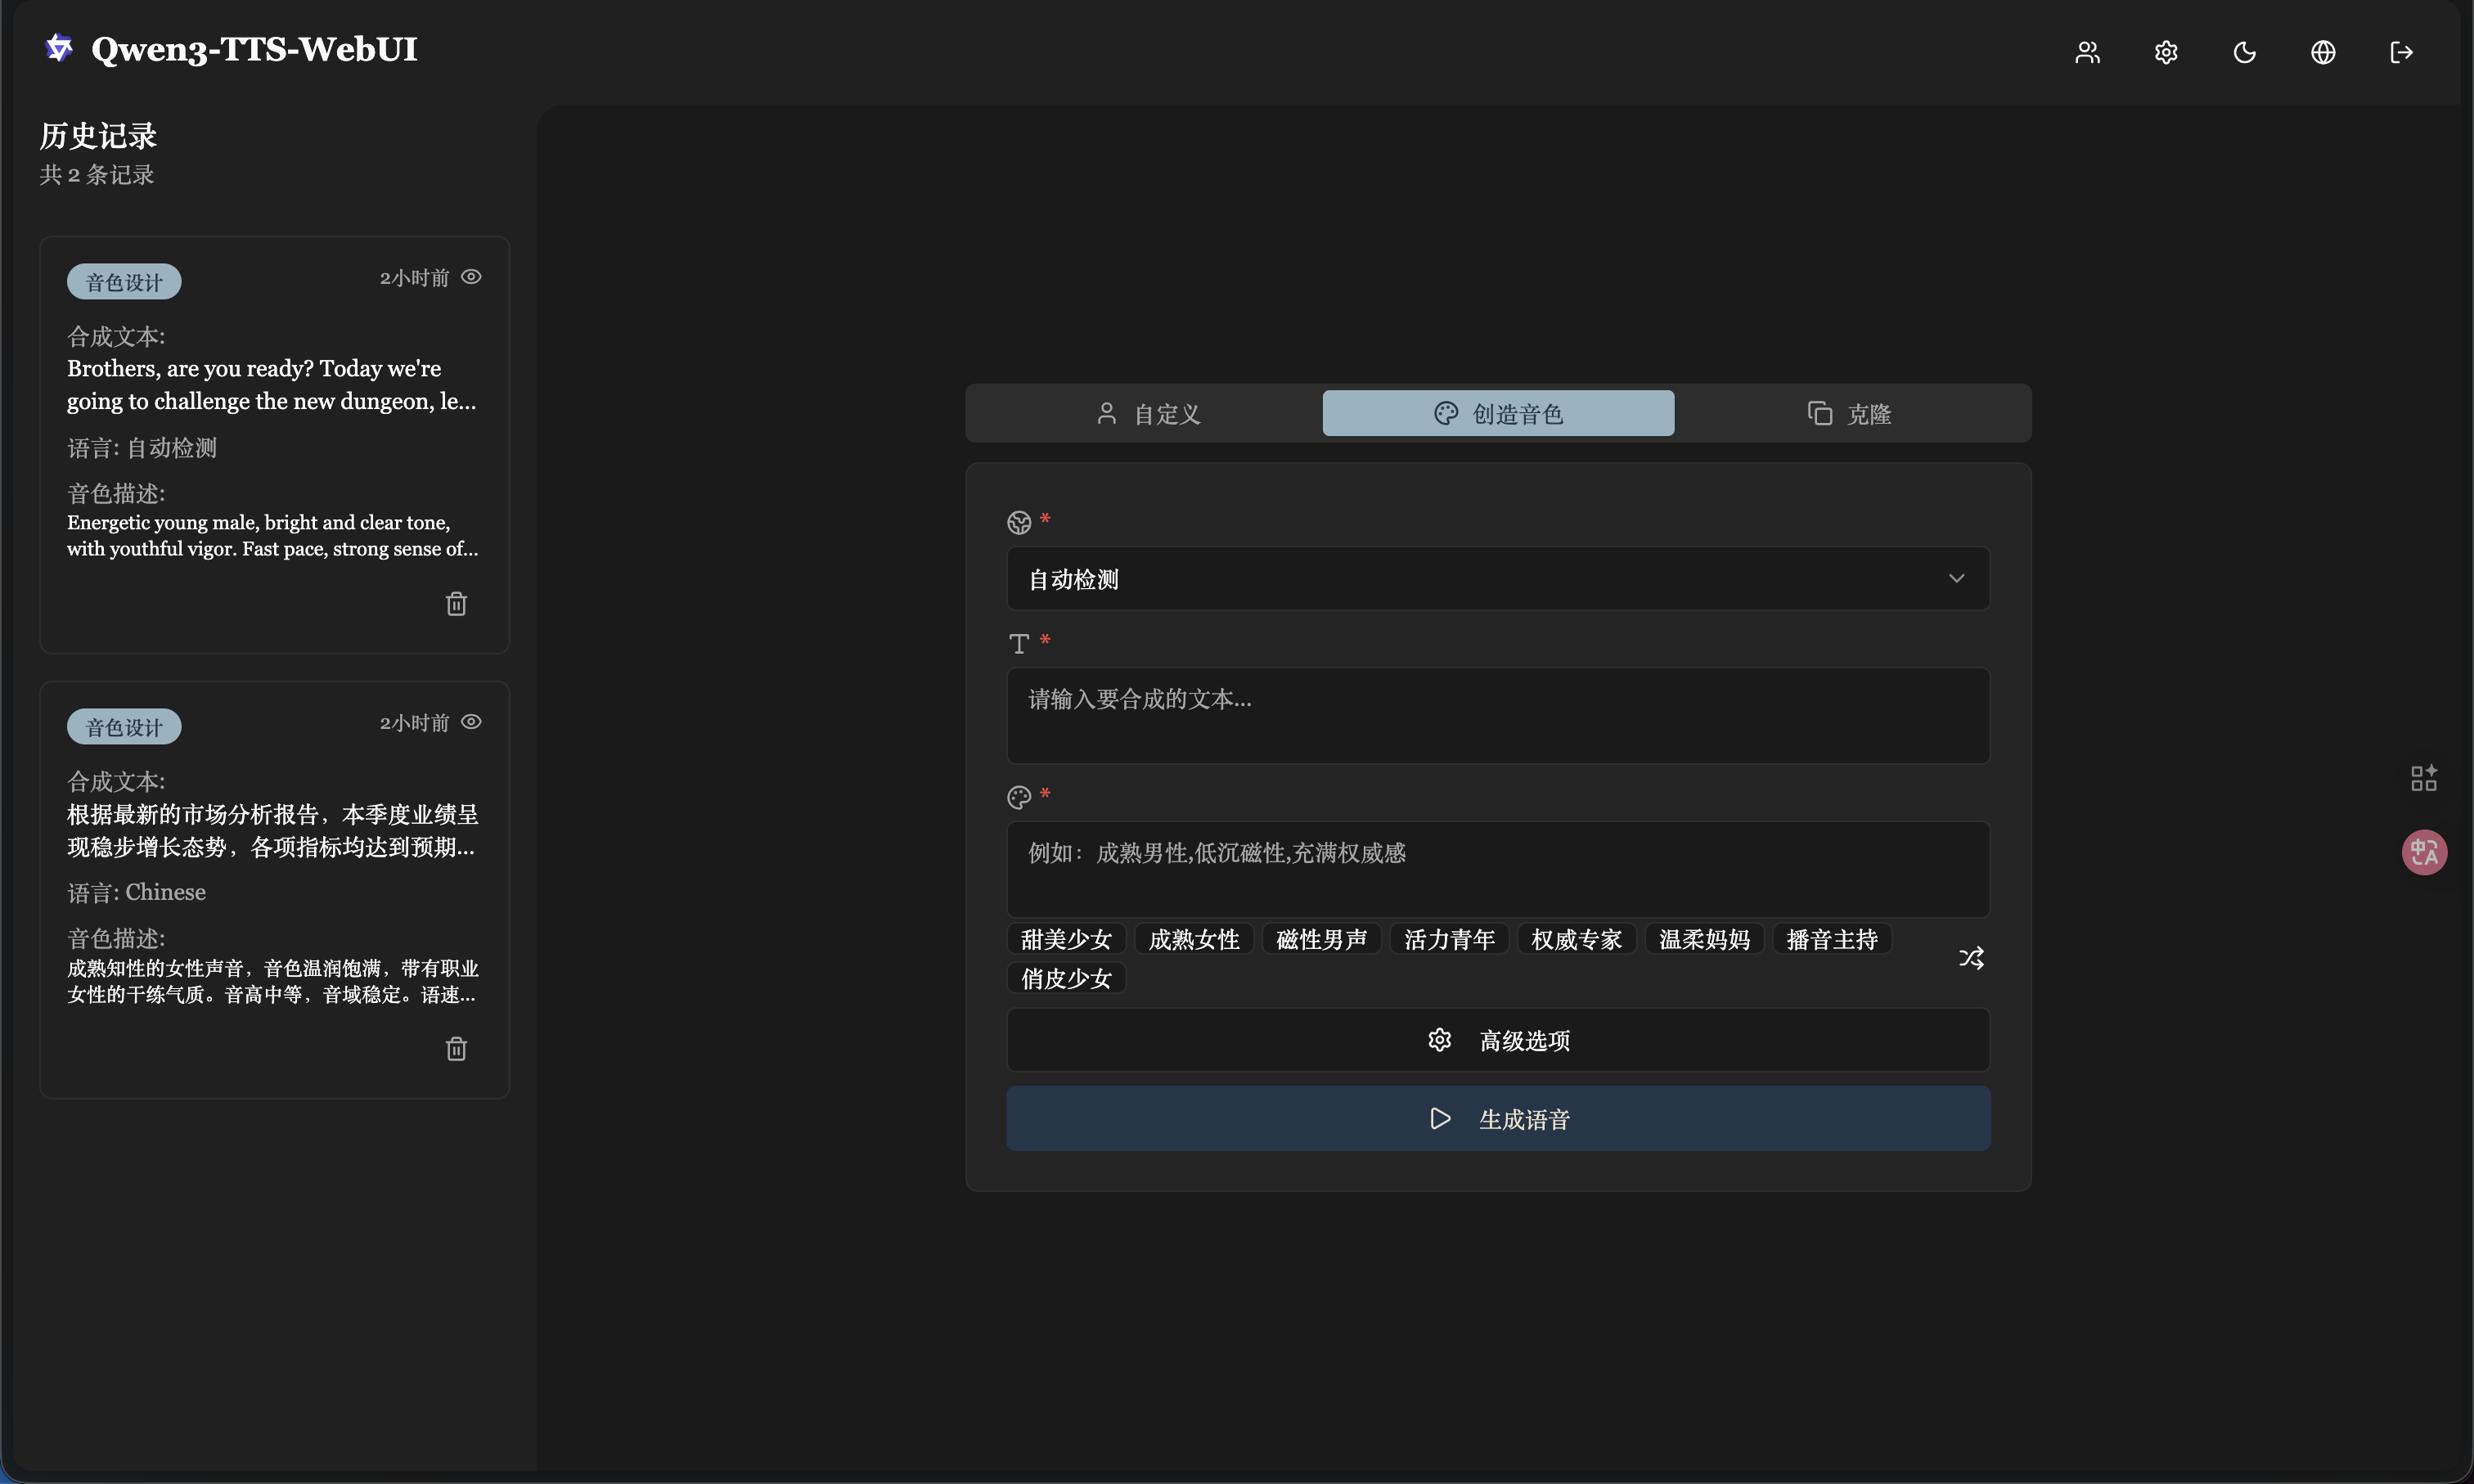
### Desktop - Dark Mode
### Mobile
### Audiobook Generation
## Tech Stack
**Backend**: FastAPI + SQLAlchemy + PyTorch + JWT
- Direct PyTorch inference with Qwen3-TTS models
- Async task processing with batch optimization
- Local model support + Aliyun API integration
**Frontend**: React 19 + TypeScript + Vite + Tailwind + Shadcn/ui
## Docker Deployment
Pre-built images are available on Docker Hub: [bdim404/qwen3-tts-backend](https://hub.docker.com/r/bdim404/qwen3-tts-backend), [bdim404/qwen3-tts-frontend](https://hub.docker.com/r/bdim404/qwen3-tts-frontend)
**Prerequisites**: Docker, Docker Compose, NVIDIA GPU + [NVIDIA Container Toolkit](https://docs.nvidia.com/datacenter/cloud-native/container-toolkit/install-guide.html)
```bash
git clone https://github.com/bdim404/Qwen3-TTS-WebUI.git
cd Qwen3-TTS-webUI
# Download models to docker/models/ (see Installation > Download Models below)
mkdir -p docker/models docker/data
# Configure
cp docker/.env.example docker/.env
# Edit docker/.env and set SECRET_KEY
cd docker
# Pull pre-built images
docker compose pull
# Start (CPU only)
docker compose up -d
# Start (with GPU)
docker compose -f docker-compose.yml -f docker-compose.gpu.yml up -d
```
Access the application at `http://localhost`. Default credentials: `admin` / `admin123456`
## Installation
### Prerequisites
- Python 3.9+ with CUDA support (for local model inference)
- Node.js 18+ (for frontend)
- Git
### 1. Clone Repository
```bash
git clone https://github.com/bdim404/Qwen3-TTS-WebUI.git
cd Qwen3-TTS-webUI
```
### 2. Download Models
**Important**: Models are **NOT** automatically downloaded. You need to manually download them first.
For more details, visit the official repository: [Qwen3-TTS Models](https://github.com/QwenLM/Qwen3-TTS)
Navigate to the models directory:
```bash
# Docker deployment
mkdir -p docker/models && cd docker/models
# Local deployment
cd qwen3-tts-backend && mkdir -p Qwen && cd Qwen
```
**Option 1: Download through ModelScope (Recommended for users in Mainland China)**
```bash
pip install -U modelscope
modelscope download --model Qwen/Qwen3-TTS-Tokenizer-12Hz --local_dir ./Qwen3-TTS-Tokenizer-12Hz
modelscope download --model Qwen/Qwen3-TTS-12Hz-1.7B-CustomVoice --local_dir ./Qwen3-TTS-12Hz-1.7B-CustomVoice
modelscope download --model Qwen/Qwen3-TTS-12Hz-1.7B-VoiceDesign --local_dir ./Qwen3-TTS-12Hz-1.7B-VoiceDesign
modelscope download --model Qwen/Qwen3-TTS-12Hz-1.7B-Base --local_dir ./Qwen3-TTS-12Hz-1.7B-Base
```
Optional 0.6B models (smaller, faster):
```bash
modelscope download --model Qwen/Qwen3-TTS-12Hz-0.6B-CustomVoice --local_dir ./Qwen3-TTS-12Hz-0.6B-CustomVoice
modelscope download --model Qwen/Qwen3-TTS-12Hz-0.6B-Base --local_dir ./Qwen3-TTS-12Hz-0.6B-Base
```
**Option 2: Download through Hugging Face**
```bash
pip install -U "huggingface_hub[cli]"
hf download Qwen/Qwen3-TTS-Tokenizer-12Hz --local-dir ./Qwen3-TTS-Tokenizer-12Hz
hf download Qwen/Qwen3-TTS-12Hz-1.7B-CustomVoice --local-dir ./Qwen3-TTS-12Hz-1.7B-CustomVoice
hf download Qwen/Qwen3-TTS-12Hz-1.7B-VoiceDesign --local-dir ./Qwen3-TTS-12Hz-1.7B-VoiceDesign
hf download Qwen/Qwen3-TTS-12Hz-1.7B-Base --local-dir ./Qwen3-TTS-12Hz-1.7B-Base
```
Optional 0.6B models (smaller, faster):
```bash
hf download Qwen/Qwen3-TTS-12Hz-0.6B-CustomVoice --local-dir ./Qwen3-TTS-12Hz-0.6B-CustomVoice
hf download Qwen/Qwen3-TTS-12Hz-0.6B-Base --local-dir ./Qwen3-TTS-12Hz-0.6B-Base
```
**Final directory structure:**
Docker deployment (`docker/models/`):
```
Qwen3-TTS-webUI/
└── docker/
└── models/
├── Qwen3-TTS-Tokenizer-12Hz/
├── Qwen3-TTS-12Hz-1.7B-CustomVoice/
├── Qwen3-TTS-12Hz-1.7B-VoiceDesign/
└── Qwen3-TTS-12Hz-1.7B-Base/
```
Local deployment (`qwen3-tts-backend/Qwen/`):
```
Qwen3-TTS-webUI/
└── qwen3-tts-backend/
└── Qwen/
├── Qwen3-TTS-Tokenizer-12Hz/
├── Qwen3-TTS-12Hz-1.7B-CustomVoice/
├── Qwen3-TTS-12Hz-1.7B-VoiceDesign/
└── Qwen3-TTS-12Hz-1.7B-Base/
```
### 3. Backend Setup
```bash
cd qwen3-tts-backend
# Create virtual environment
python -m venv venv
source venv/bin/activate # On Windows: venv\Scripts\activate
# Install dependencies
pip install -r requirements.txt
# Install Qwen3-TTS
pip install qwen-tts
# Create configuration file
cp .env.example .env
# Edit .env file
# For local model: Set MODEL_BASE_PATH=./Qwen
# For Aliyun API only: Set DEFAULT_BACKEND=aliyun
nano .env # or use your preferred editor
```
**Important Backend Configuration** (`.env`):
```env
MODEL_DEVICE=cuda:0 # Use GPU (or cpu for CPU-only)
MODEL_BASE_PATH=./Qwen # Path to your downloaded models
DEFAULT_BACKEND=local # Use 'local' for local models, 'aliyun' for API
DATABASE_URL=sqlite:///./qwen_tts.db
SECRET_KEY=your-secret-key-here # Change this!
```
Start the backend server:
```bash
# Using uvicorn directly
uvicorn main:app --host 0.0.0.0 --port 8000 --reload
# Or using conda (if you prefer)
conda run -n qwen3-tts uvicorn main:app --host 0.0.0.0 --port 8000 --reload
```
Verify backend is running:
```bash
curl http://127.0.0.1:8000/health
```
### 4. Frontend Setup
```bash
cd qwen3-tts-frontend
# Install dependencies
npm install
# Create configuration file
cp .env.example .env
# Start development server
npm run dev
```
### 5. Access the Application
Open your browser and visit: `http://localhost:5173`
**Default Credentials**:
- Username: `admin`
- Password: `admin123456`
- **IMPORTANT**: Change the password immediately after first login!
### Production Build
For production deployment:
```bash
# Backend: Use gunicorn or similar WSGI server
cd qwen3-tts-backend
gunicorn main:app -w 4 -k uvicorn.workers.UvicornWorker -b 0.0.0.0:8000
# Frontend: Build static files
cd qwen3-tts-frontend
npm run build
# Serve the 'dist' folder with nginx or another web server
```
## Configuration
### Backend Configuration
Backend `.env` key settings:
```env
SECRET_KEY=your-secret-key
MODEL_DEVICE=cuda:0
MODEL_BASE_PATH=../Qwen
DATABASE_URL=sqlite:///./qwen_tts.db
DEFAULT_BACKEND=local
ALIYUN_REGION=beijing
ALIYUN_MODEL_FLASH=qwen3-tts-flash-realtime
ALIYUN_MODEL_VC=qwen3-tts-vc-realtime-2026-01-15
ALIYUN_MODEL_VD=qwen3-tts-vd-realtime-2026-01-15
```
**Backend Options:**
- `DEFAULT_BACKEND`: Default TTS backend, options: `local` or `aliyun`
- **Local Mode**: Uses local Qwen3-TTS model (requires `MODEL_BASE_PATH` configuration)
- **Aliyun Mode**: Uses Aliyun TTS API (requires users to configure their API keys in settings)
**Aliyun Configuration:**
- Users need to add their Aliyun API keys in the web interface settings page
- API keys are encrypted and stored securely in the database
- Superuser can enable/disable local model access for all users
- To obtain an Aliyun API key, visit the [Aliyun Console](https://dashscope.console.aliyun.com/)
## Usage
### Switching Between Backends
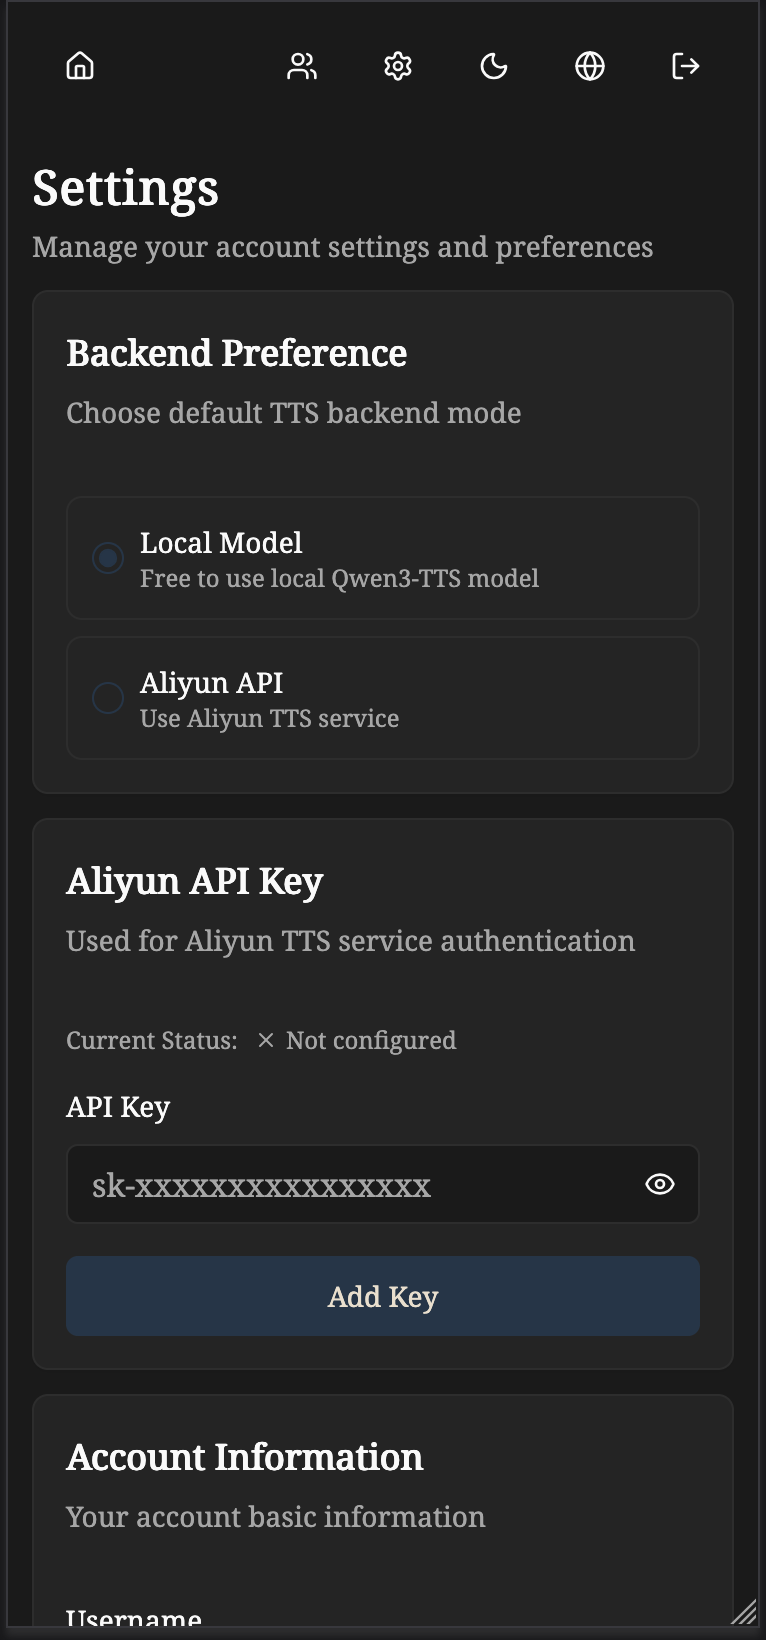
1. Log in to the web interface
2. Navigate to Settings page
3. Configure your preferred backend:
- **Local Model**: Select "本地模型" (requires local model to be enabled by superuser)
- **Aliyun API**: Select "阿里云" and add your API key
4. The selected backend will be used for all TTS operations by default
5. You can also specify a different backend per request using the `backend` parameter in the API
### Managing Aliyun API Key
1. In Settings page, find the "阿里云 API 密钥" section
2. Enter your Aliyun API key
3. Click "更新密钥" to save and validate
4. The system will verify the key before saving
5. You can delete the key anytime using the delete button
## Acknowledgments
This project is built upon the excellent work of the official [Qwen3-TTS](https://github.com/QwenLM/Qwen3-TTS) repository by the Qwen Team at Alibaba Cloud. Special thanks to the Qwen Team for open-sourcing such a powerful text-to-speech model.
## License
Apache-2.0 license